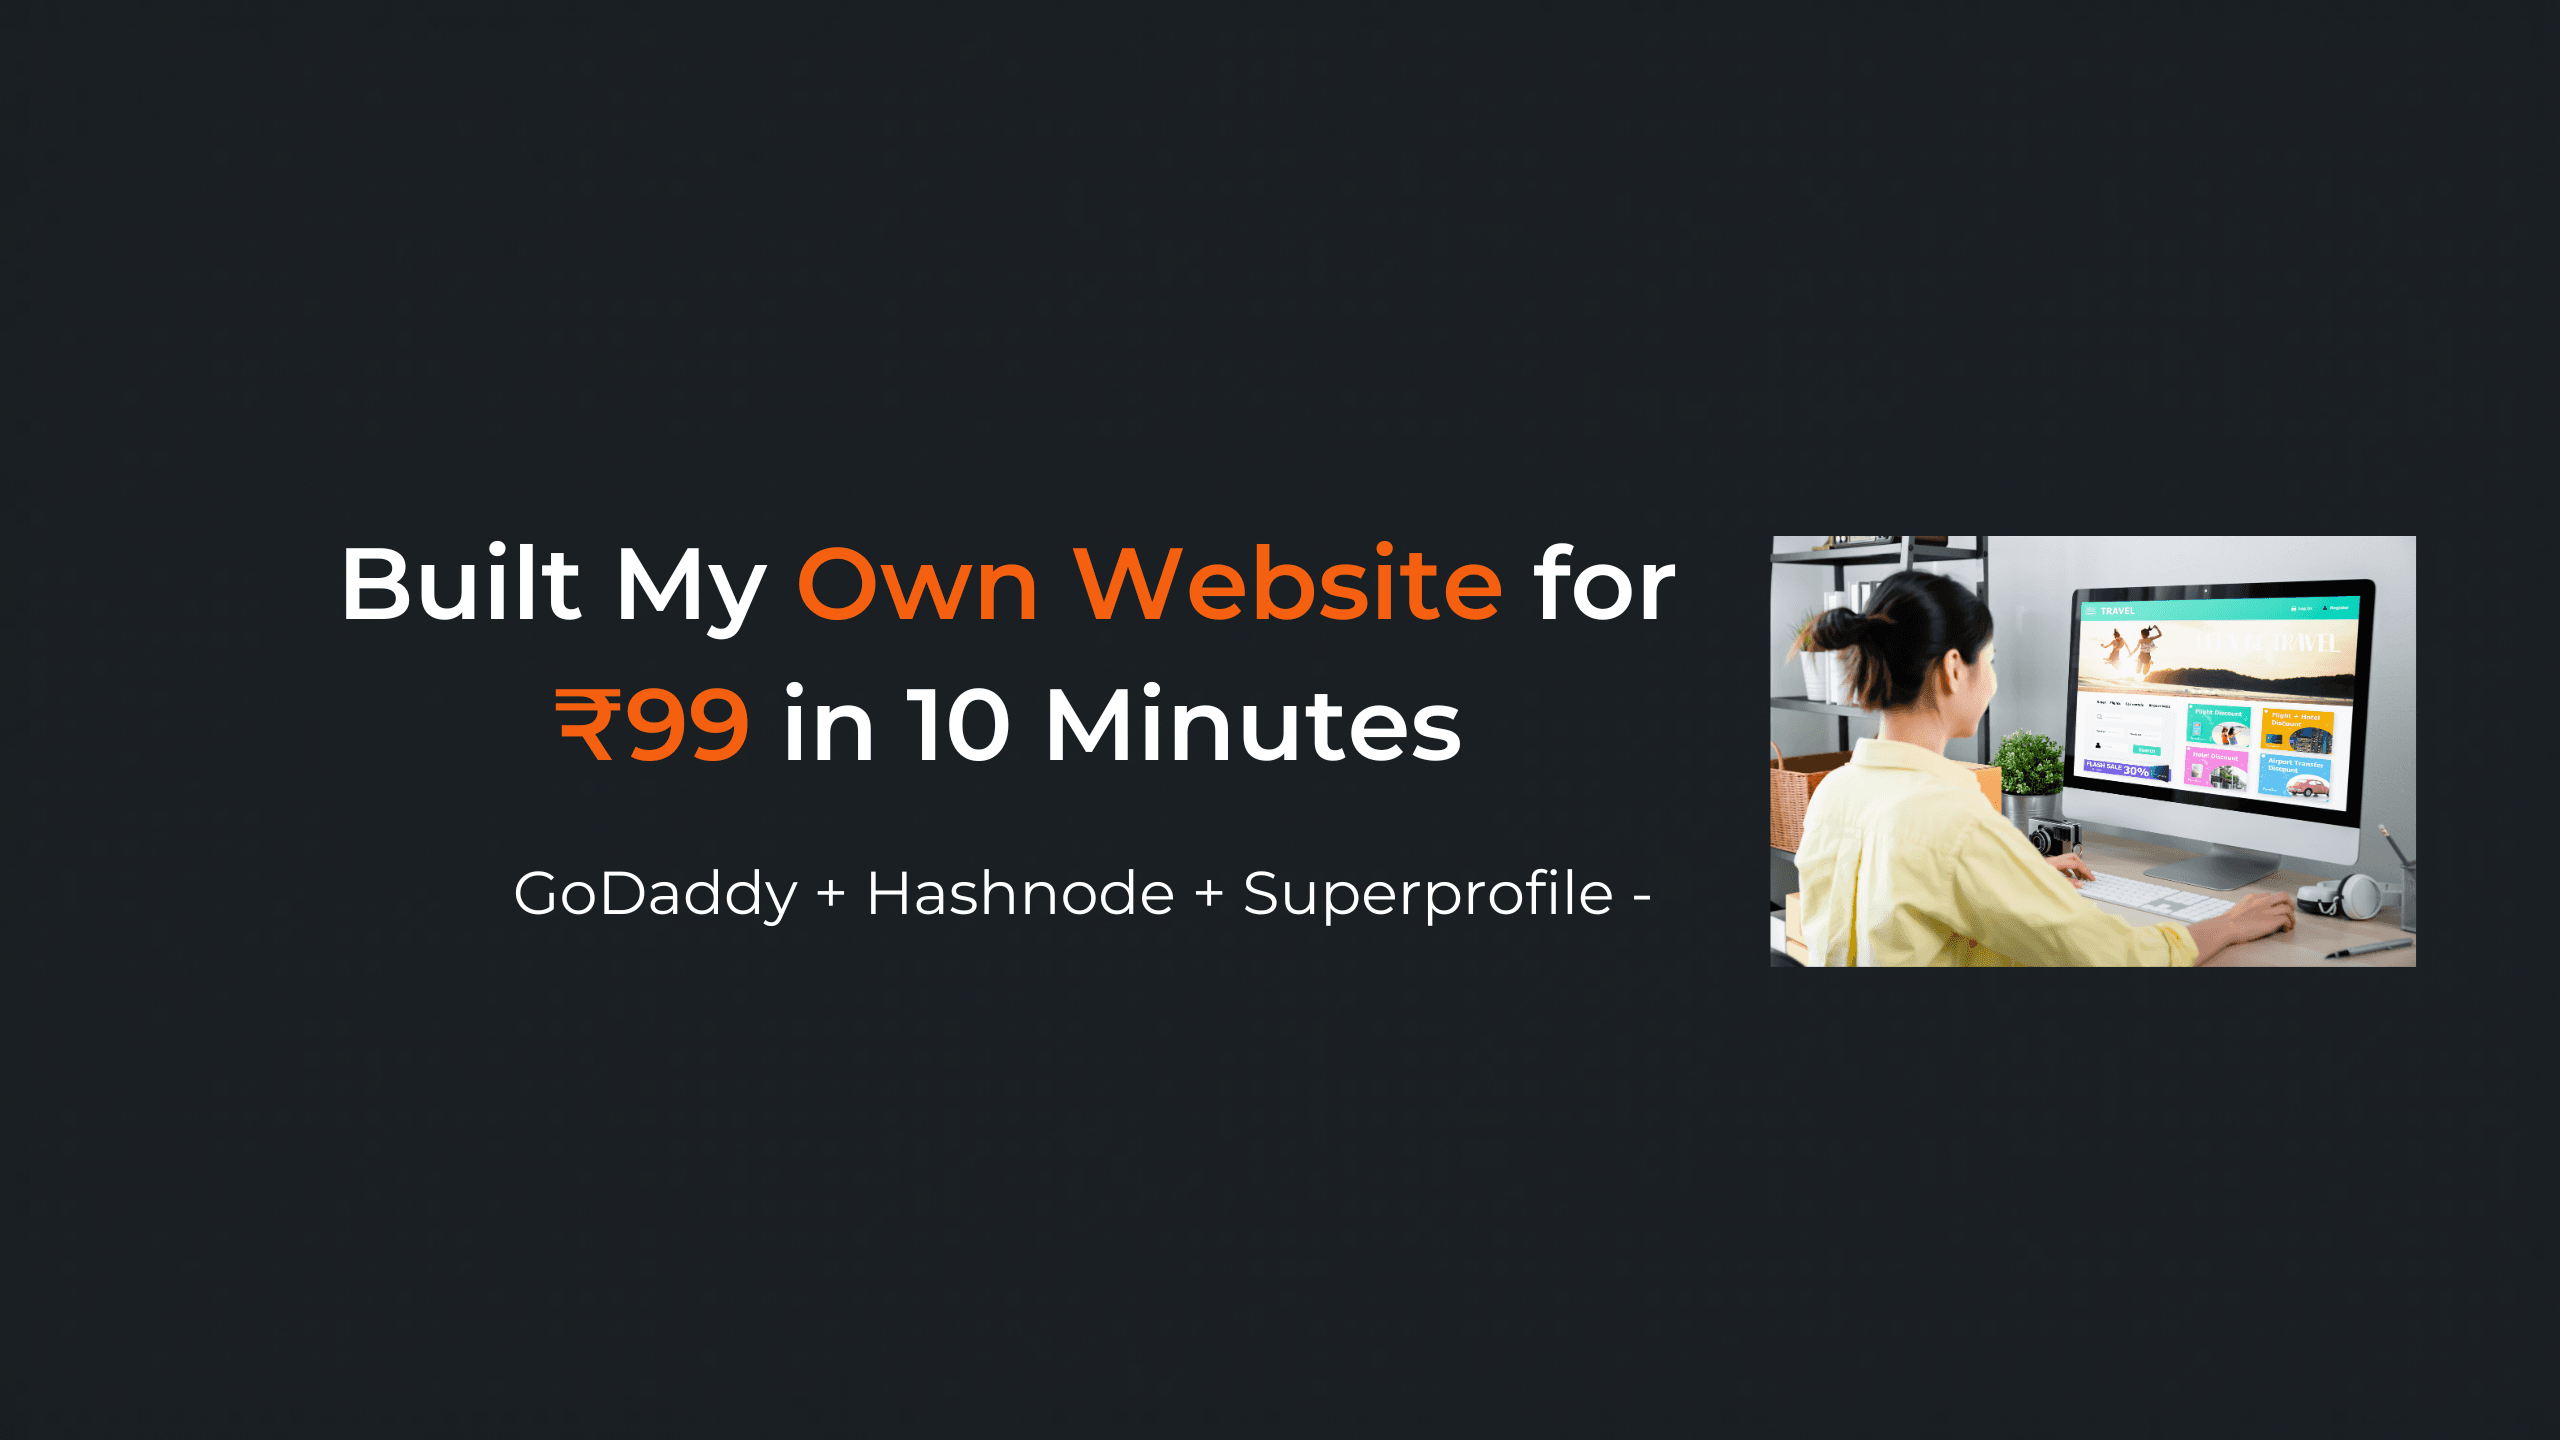
I Built My Own Website for ₹99 — And You Can Too
Using GoDaddy + Hashnode + Superprofile. No developer. No coding. Just 10 minutes.
Search for a command to run...
Using GoDaddy + Hashnode + Superprofile. No developer. No coding. Just 10 minutes.
No comments yet. Be the first to comment.
I Spent Days Researching This So You Don't Have To
I'm a toddler mom, AI educator, and solo creator. I have 3 hours a day — only when my baby sleeps. I want to hit 10K followers in 3 months, post consistently on Instagram, and finish a few courses on

You don't have to retrain Claude from scratch. Here's the exact step-by-step to import everything ChatGPT knows about you into Claude — including the official prompt. I've been using ChatGPT for clos
Anthropoc — the billion dollar AI company behind Claude — just released 16 free courses. Official certificates included. No credit card. No subscription. Just your email. I went through all of them so

Ranjani Shetty
6 posts
For almost a month, I was running a comment strategy on Instagram — someone would comment on my reel, and I'd DM them a Google Doc link with all the information.
It worked. But it felt like jugaad.
A random Google Doc link in someone's DMs doesn't say "professional creator." It says "I figured this out five minutes ago."
So I fixed it. I built my own website. In under 10 minutes. For ₹99.
Here's exactly how I did it — step by step, so you can do it too.
Three tools. All free except the domain:
Go to godaddy.com and search for your name or brand name.
Tips for picking a good domain:
Once you find a good one — add to cart and check out. I paid ₹99 for mine.
You now own your corner of the internet. That feels good, trust me.
Hashnode is where you write your blogs — tutorials, prompts, guides, tips. It looks clean, professional, and Google can find it. And it's completely free.
Go to hashnode.com and create a free account.
Setting up your blog:
Connecting your GoDaddy domain to Hashnode:
It sounds technical but it's really just copy-paste. If I did it as a toddler mom with 3 hours a day, you can definitely do it.
Think of Superprofile as your link-in-bio — but one that looks like an actual website. Instead of sending people to a plain Instagram bio link, you send them somewhere that shows your blog, your offers, your WhatsApp, everything — in one place.
Go to superprofile.bio and create a free account.
What to add to your Superprofile:
Once it looks good — copy your Superprofile link and paste it in your Instagram bio.
Now your Instagram bio has one link. That one link takes people to your whole world.
Here's how the whole thing flows:
One link. Everything in one place. Looks like a real brand. Because it is.
Now that your website is live, here's what most beginners miss:
Let's recap:
I did this as a toddler mom with 3 hours a day. If I can do it — so can you.
Want more practical AI and creator tips like this?
Follow me on Instagram → @ranjanicshetty Read more blogs → ranjanishetty.in
Ranjani Shetty is an AI educator with 10 years of ecommerce experience. She teaches creators, students, and working moms how to use AI tools practically — one reel at a time.